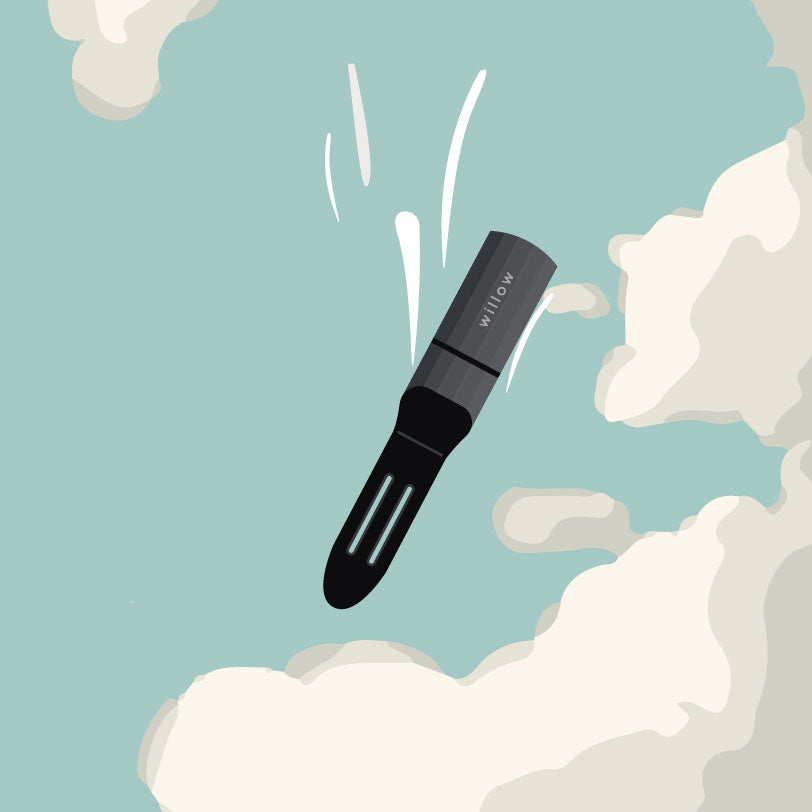
Setup Guide
You've got some hardware! To make the most of your Willow devices, have a read of the following tips and guides.

If you are encountering any issues setting up your Sensors and Hub, check out our Support Page or reach out to us at support@plantwithwillow.com.au and we'll be happy to help get you up and running!

Remove the protective cap from the bottom of your Sensor.

Take care if soil surface is overly hard or compacted. Aerate soil first.
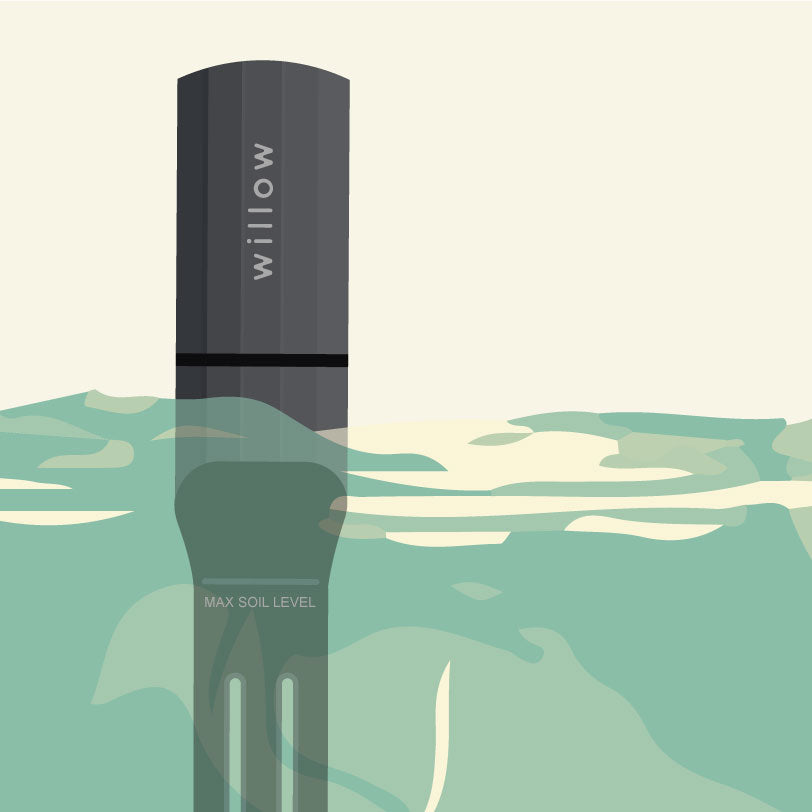
Don't submerge in liquid and don't go past 'Max Soil Level' when planting in soil.
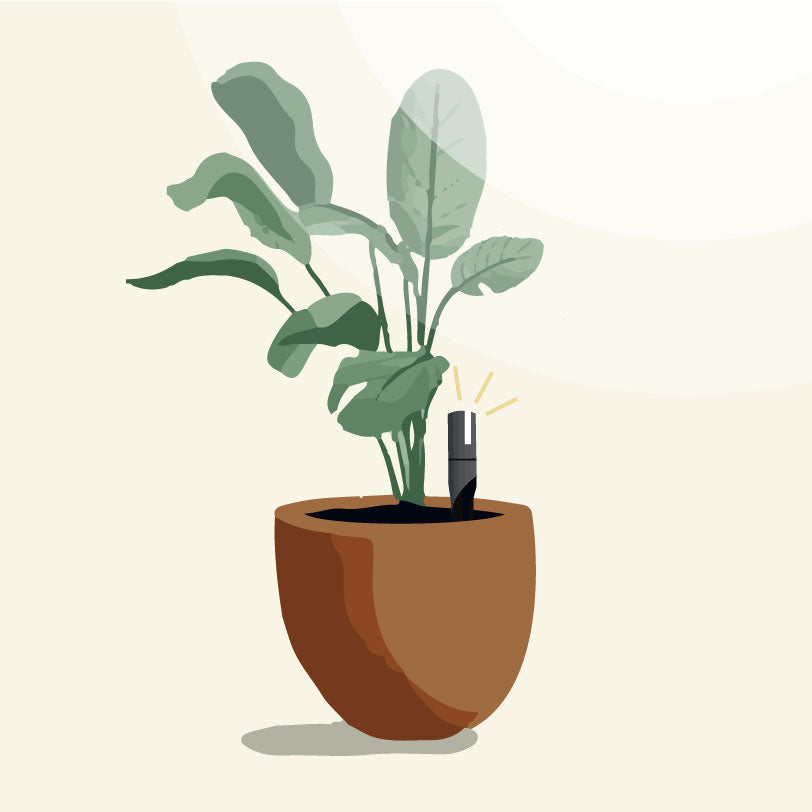
Place Sensor with light pipe facing closest light source (i.e. window).

Ensure view is unobstructed. A Large Pot Extension may be required for added height.
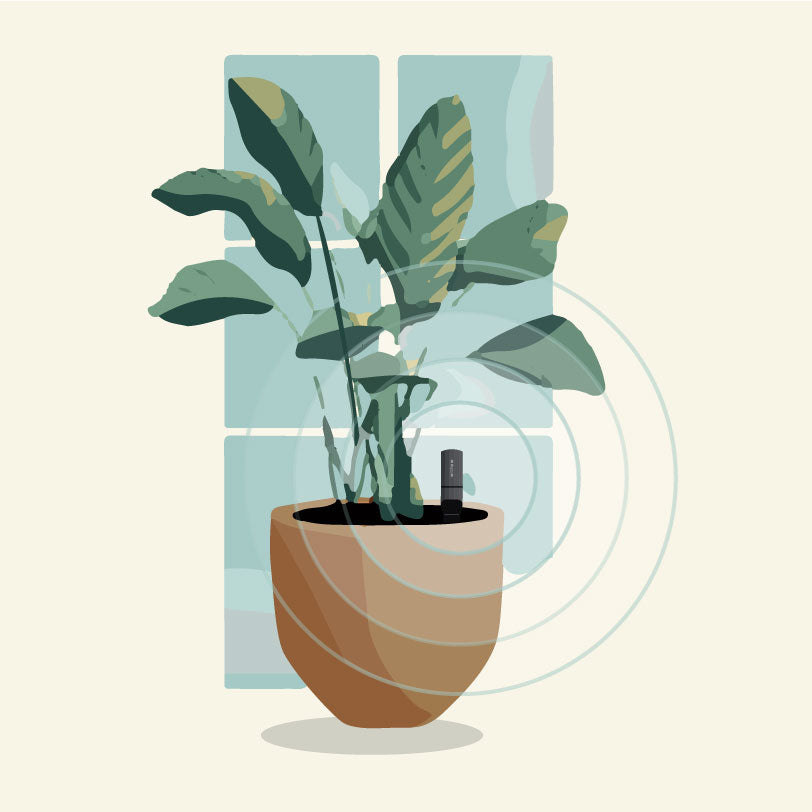
Consider your Sensors' Bluetooth works within a 20m radius of your Hub without obstacles.
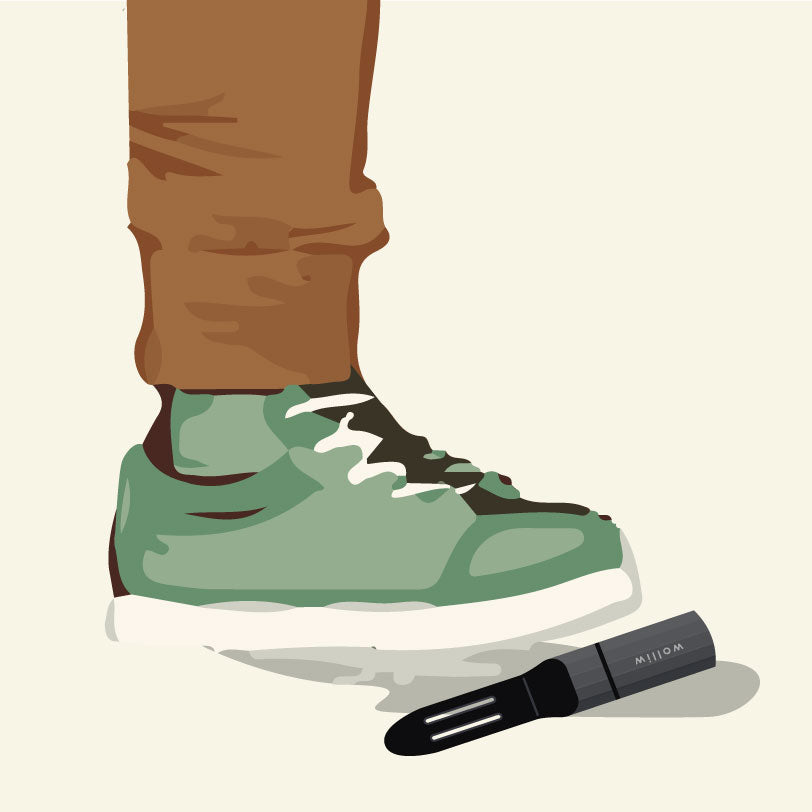
Take care not to damage your device.
Take care not to drop from heights above 75cm.
Get to know the Willow Sensor
Familiarise yourself with my design and function.

The waterproof top housing contains my electronics.
The bottom half contains my soil moisture probe.
Protecting me in transit is also a removable safety cap.
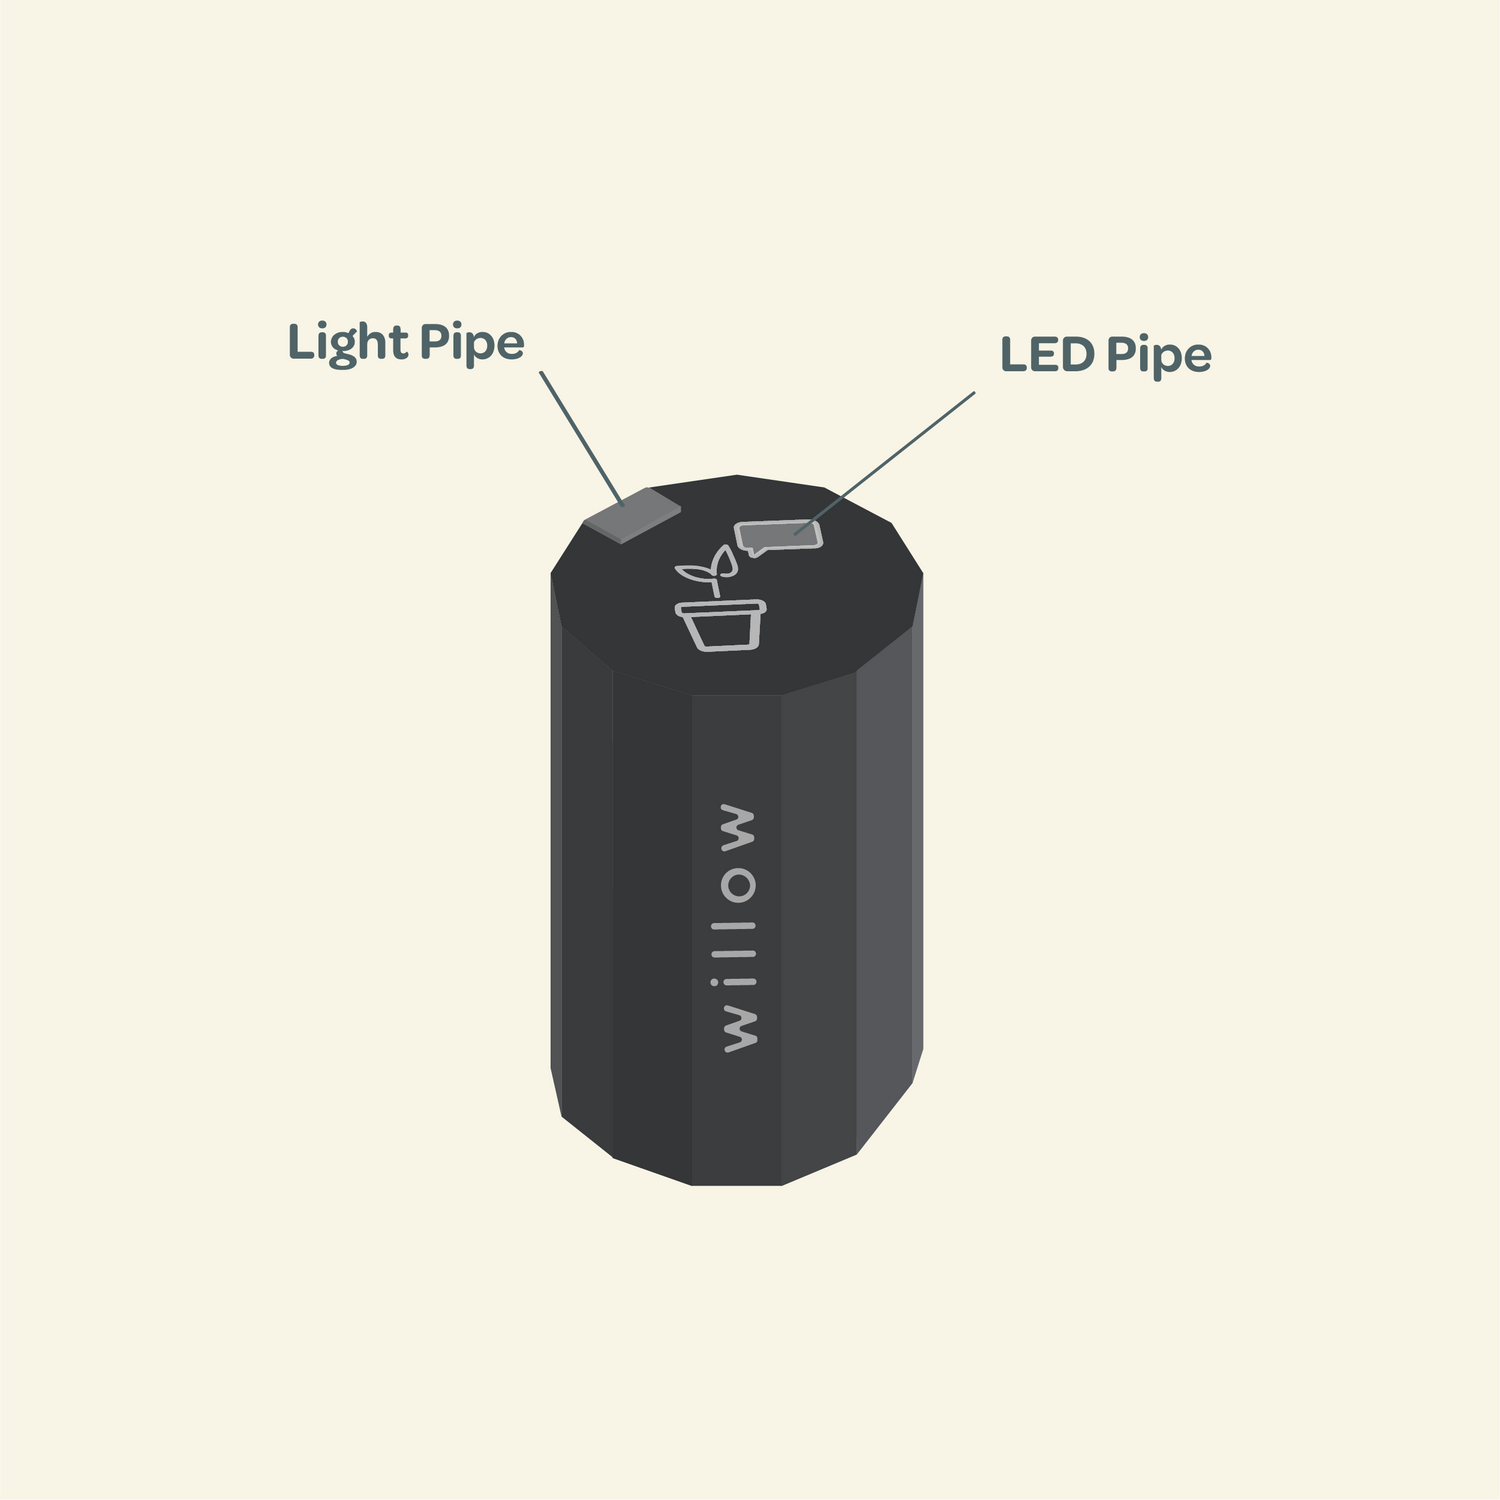
Light Pipe: I funnel ambient light to my onboard light sensor
LED Pipe: I flash to indicate when poweed, pairing, or my battery is low.

Screw: Only remove if you need to replace my battery.
Button: I'm used when pairing with the Willow App & If I need to be reset.